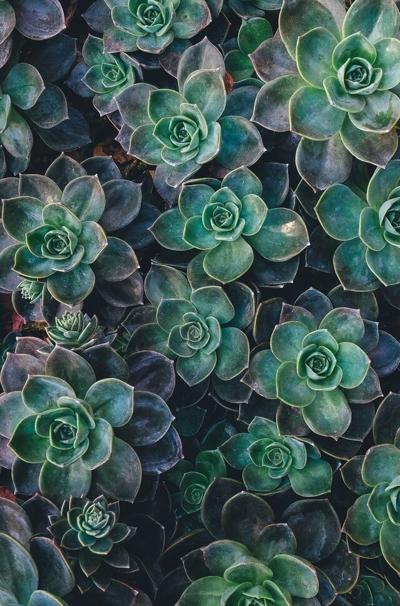
The space-saving nature of livings walls makes them ideal for small outdoor spaces and kitchen gardens. They optimize the vertical space with creative installation techniques that won’t damage your wall. And you do not necessarily need to hire an expert to install your living wall installation expert – it takes a little bit of time and effort, but this is a fun and relatively simple DIY project.
Just check out some outstanding living wall outdoor landscaping ideas, get your tools ready, and choose a nice sunny day to add a magnificent feature to your home.
Living Walls Basics You Should Know
Herbs, perennials, and vegetables are perfect for living walls. Edible plants will not only give you a steady supply of fresh herbs and veggies, but most are also the ideal size for a living wall. The perfect plants for a living wall should be comfortable with consistent pruning or grow no more than 50cm tall, such as fuchsia, impatiens, lobelia, lettuce, or strawberries.
Regardless of the plants you choose, all living walls need a watering system. Readymade living wall kits come with a built-in watering system, but it’s pretty easy to make your watering system without any special tools or expertise.
Step-by-Step Guide to Making a Living Wall Outdoor
Select a fence or a wall you want to attach your living wall to. Once you’ve chosen a spot, make sure you have the following tools on hand:
- Living wall modules such as panels
- Cable ties
- Self-tapping wood screws
- Watering can and an additional water tank (optional)
- Irrigation tubing (4mm is ideal) and drippers
- Plug plants
- Peat-free multi-purpose compost
- A teaspoon
Once you have arranged all of these tools and accessories on-hand, you are ready to start building your living wall!
Step 1. Tray Assembly
Begin with placing the tray in the metal frame. Once the positioning seems right, attach the irrigation tubing. Make sure it sits nicely so that the drippers are correctly positioned to water each plant.
Step 2. Fill in the Tray
Take a peat-free multi-purpose compost with slow-release fertilizer and fill the tray. Use cable ties to attach the tray to the top panel and water the tray with a watering can.
Step 3. Plant Plugs
Next, you’ll need to plant plugs into the modules. Make a hole in the compost with a teaspoon and place the plant in the hole. Always make sure to plant just one type of plant in each tray. The living wall will have a more natural look if you use one kind of plant in each angled panel.
Step 4. Watering Plants
Once you have planted your plug plants, water them thoroughly. You will not have to water them again with the watering can since the irrigation system will do the job in the future.
Step 5. Fix Brackets to the Wall or Fence
Living wall kits typically come with wood screws and brackets to attach the setup to a fence or wall. If the kit does not come with screws, you can buy self-tapping wood screws from most local stores. Once fixed, you’re ready to hang trays on the brackets.
Step 6. Connect Irrigation System
The built-in irrigation system is the lifeline of the living wall. Connect the system carefully - go tray by tray without missing any trays. Once done, it’s time to connect the irrigation system to the water supply.
That’s it – you’re done! All that’s left is to sit back and enjoy your vibrant, lush living wall!
How to Choose the Right Plants for your Living Wall
Before choosing the right plants, you need to decide where you want to place your living wall and what kind of effect you want. Also, think about the time of year – spring is generally the best time to plant your living wall, though some plants are best planted in other seasons.
It’s also a good idea to choose plants that flower across all seasons, and this will keep the wall alive and vibrant across all times of the year. Herbs are ideal for their scents and because they’re great for covering spaces to keep the wall looking fresh and healthy.
Baby spinach and mizuna, or Japanese mustard greens, are a couple of great vegetable options for your living wall. Vertical-friendly chili peppers and trailing tomatoes also look fantastic.
It would be best if you also considered hardy perennials like lobelia and impatiens, which enjoy both sunshine and shade as long as they are well-irrigated.
Are You Ready?
If done correctly, living walls will not damage the fence or the brick wall they are hanging against. The modules and kits are designed to maintain a gap to protect your wall. Moreover, you can always detach the living wall and use the same equipment against another fence in a different season to make the most of climatic conditions across the year.


(0) comments
We welcome your comments
Log In
Post a comment as Guest
Keep it Clean. Please avoid obscene, vulgar, lewd, racist or sexually-oriented language.
PLEASE TURN OFF YOUR CAPS LOCK.
Don't Threaten. Threats of harming another person will not be tolerated.
Be Truthful. Don't knowingly lie about anyone or anything.
Be Nice. No racism, sexism or any sort of -ism that is degrading to another person.
Be Proactive. Use the 'Report' link on each comment to let us know of abusive posts.
Share with Us. We'd love to hear eyewitness accounts, the history behind an article.