

While storage shipping containers can be very helpful for businesses, they can also get dirty and smelly over time, making it hard to store your things conveniently.
Not only does regular cleaning make your containers look better, but it also keeps your things safe and in good shape. This blog will guide you through the essential steps on how to clean your storage shipping containers effectively.
1. Gather Necessary Cleaning Supplies
Before you start cleaning your shipping container, you need to gather the right supplies. Get a broom, dustpan, mop, and bucket. You will also need cleaning solutions, like mild detergent, vinegar, or baking soda, which are great for tough stains.
Don't forget rubber gloves to protect your hands and a scrub brush for scrubbing surfaces. If the container is really dirty, consider getting a pressure washer to help remove grime. Having everything ready will make the cleaning process smoother and quicker.
2. Remove Contents from the Container
Next, empty the container. Take out all the items stored inside, including boxes, tools, and any other belongings. Make sure to check for any hidden items in corners or on shelves.
This step is important because it allows you to see the space clearly and gives you room to clean every part of the container. As you remove items, consider organizing them into “keep,” “donate,” or “throw-away” piles to declutter your belongings.
3. Dry Cleaning First
Once the container is empty, start with dry cleaning. Use a broom and dustpan to sweep out dirt, dust, and debris from the floors and walls. Make sure to get into the corners and along the edges where dirt tends to build up.
If there are any cobwebs, use a broom or a cloth to wipe them away. This step is essential because it prepares the container for wet cleaning, making it easier to remove stains and grime later on.
4. Washing the Container Interior
After dry cleaning, it’s time to wash the interior of the container. Put warm water into a bucket and add the cleaner of your choice. Dip the mop or scrub brush into the solution and start cleaning the walls, floor, and any shelves inside the container.
Let the cleaning solution sit for a few minutes before you scrub to get rid of tough stains. Rinse the mop or brush frequently to avoid spreading dirt around. Make sure to clean all surfaces thoroughly to eliminate odors and bacteria.
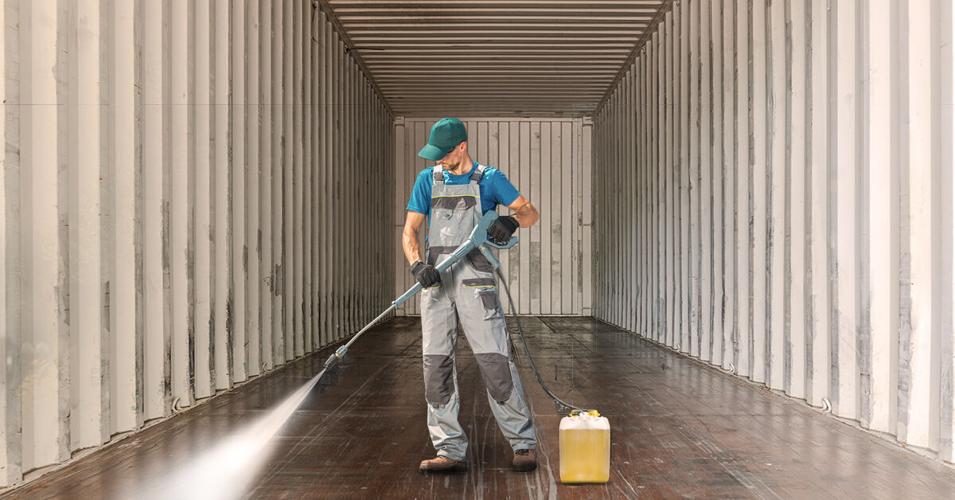
5. Cleaning the Exterior
Once the inside is clean, move on to the exterior of the shipping container. Use a pressure washer or a hose with a scrub brush and cleaning solution to wash the outside.
Pay special attention to areas with rust or dirt buildup. This helps maintain the container’s appearance and prevents damage from grime or rust. If you notice any rust spots, consider using a rust remover or protective paint after cleaning to keep the container in good shape.
6. Drying the Container
After you finish washing, it’s important to dry the container properly. Open the doors and let air circulate to help it dry faster. If you can, leave it open for a few hours or even a day to ensure all moisture evaporates.
This step is crucial because leftover moisture can lead to mold or rust inside the container. Once it’s completely dry, you can return your items, knowing that your shipping container is clean and ready for use.
Keep Your Containers in Top Condition

Regular cleaning not only extends the life of your containers but also helps prevent damage and ensures a safe environment for your items. If you're looking for high-quality options, consider storage container hire to meet your needs effectively. Take care of your containers, and they will serve you well for years to come!
Post a comment as Guest
Report
Watch this discussion.
(0) comments
We welcome your comments
Log In
Post a comment as Guest
Keep it Clean. Please avoid obscene, vulgar, lewd, racist or sexually-oriented language.
PLEASE TURN OFF YOUR CAPS LOCK.
Don't Threaten. Threats of harming another person will not be tolerated.
Be Truthful. Don't knowingly lie about anyone or anything.
Be Nice. No racism, sexism or any sort of -ism that is degrading to another person.
Be Proactive. Use the 'Report' link on each comment to let us know of abusive posts.
Share with Us. We'd love to hear eyewitness accounts, the history behind an article.