


Remodeling is part planning, part sequencing, and part self-control. The goal is to make smart moves in the right order so you get comfort, durability, and value. Use this guide to decide what to do first, what to do next, and what to leave for later.
Start With A Realistic Roadmap
Begin by setting your scope and a spending cap. List the rooms, the must-fix issues, and the nice-to-have upgrades. Break the work into phases so you keep living areas usable and crews work elsewhere.
Remodeling doesn’t happen in a vacuum. Markets shift, and costs follow, so build a buffer for price swings and timing slips.
A housing research group expects only mild growth in home improvement spending this year, which suggests a slower, steadier market and room to negotiate if you are patient.
Roofing, Structure, and Water Control
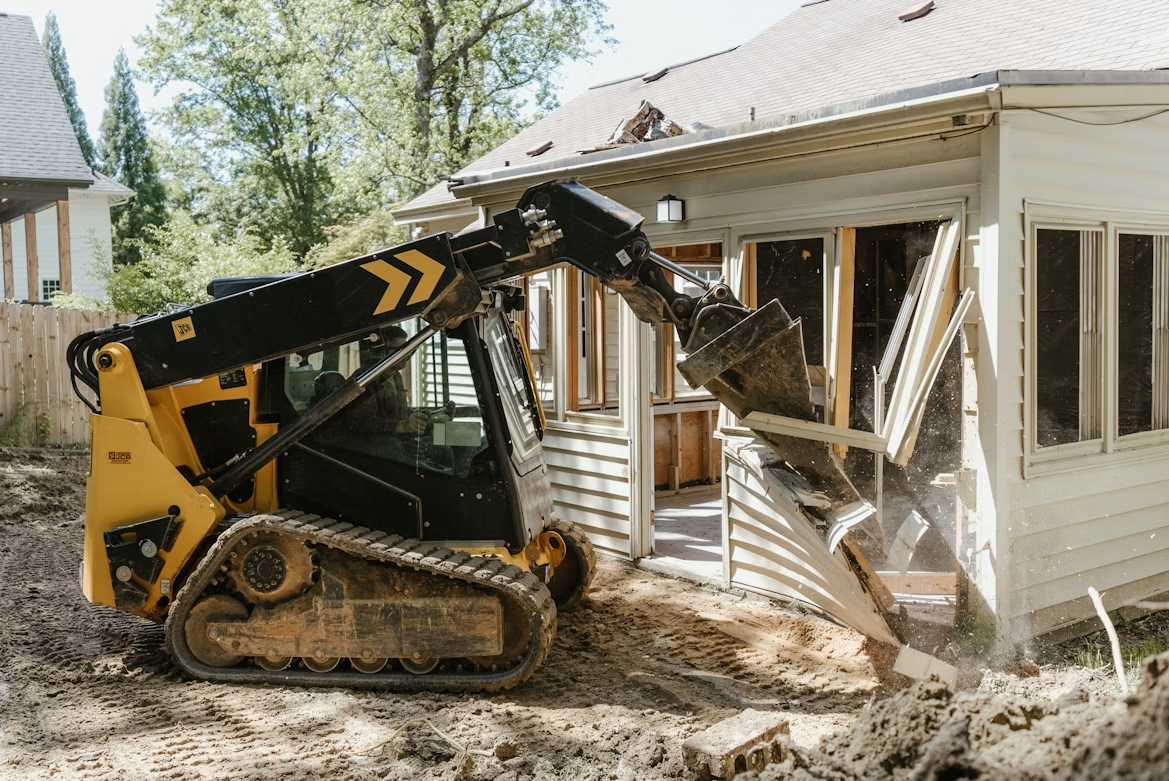
No upgrade shines if water gets in. Start outside with the roof, gutters, flashing, and grading, then move to windows and doors.
If you find active leaks, pause interior work until the envelope is sealed again. Your location and roof type shape the next steps. Whether you need roof specialists in Vancouver, Quebec, or anywhere else mid-project, the first job is to stop water at the source and verify dry-down before you close walls. Ask for photos and water readings, and keep a log so the handoff to interior trades is clean and documented.
Water sensors can be left in place for ongoing monitoring during the rest of the renovation. Track humidity swings as different trades work, since new materials can introduce temporary water.
If you’re opening ceilings or subfloors, note any past stains so you can confirm they aren't still active.
Align water-control steps with your project schedule so nothing gets covered prematurely. A documented water history supports future maintenance and resale conversations.
Seal, Insulate, and Tame Your Energy Leaks
Air sealing and insulation are invisible upgrades that pay you back daily. They lower drafts, quiet rooms, and take pressure off heating and cooling. Do these before fancy finishes, so you do not tear up new work to fix old gaps.
A national efficiency program notes that homeowners can save about 15% on heating and cooling costs by combining air sealing with added insulation. Target the attic first, then rim joists and leaky penetrations. After that, right-size your HVAC so you are not pushing conditioned air through a leaky shell.
Kitchens, Beauty Meets Budget Discipline
Kitchens touch wiring, plumbing, ventilation, and storage, so decisions stack quickly. Lock the layout early and pick durable finishes that clean easily. Sequence rough-in, drywall, floors, cabinets, counters, then backsplash, and paint to avoid backtracking.
Costs vary by scope and materials. One industry report puts typical kitchen remodel costs in a wide band, with an average around the mid-five figures. Keep upgrades where they matter most: task lighting, durable counters, and storage that makes daily cooking easier.
Bathrooms That Are Built To Last
Water buildup is the enemy in bathrooms, so plan ventilation and waterproofing with care. Use a fan sized for the room and vent it outside, not into the attic. In showers, choose a continuous waterproofing system from the pan to the walls with compatible components.
Tile choices are fun, but substrates do the heavy lifting. Confirm the subfloor meets stiffness specs and that slopes carry water to the drain. Keep niches away from exterior walls to reduce thermal swings, and set grout and sealant expectations so touchups are easy.
Run a water test on shower pans before tile goes in to catch leaks, and fixes are simple. Check that valve placements allow future cartridge swaps without opening walls.
If you add heated floors, verify they are compatible with your chosen underlayment and waterproofing system.
Track all materials and batch numbers in a project log so replacements match years later. Allow proper cure times for thinset, grout, and sealants. The patience here pays off in durability.
Floors and Finishes That Survive Daily Life
Pick floors for use, not just looks. In high-traffic zones, favor durable surfaces and easy cleaning. Coordinate floor heights between rooms to avoid trip hazards and door rubs.
Plan finishes in layers. Primer and paint need good prep, floors need acclimation and flat subfloors, and trim ties the whole look together. Protect new floors during the rest of the project and label leftover cans or planks for future repairs.
Electrical, Lighting, and Smart Planning
Older homes often need panel upgrades or new circuits for modern loads. Map outlets, task lights, and switches before drywall. In kitchens and offices, place outlets where devices actually live, and include a few extras for future gear.
Add smart where it simplifies life. Think dimmers, occupancy sensors in utility spaces, and a smart thermostat once the envelope work is done. Pull low-voltage lines for doorbells, cameras, or data, and walls are open, even if you install devices later.
Sequence, exterior envelope, systems, then finishes
Protect, dust control, floor protection, sealed returns
Verify photos, water readings, and inspection sign-offs
Reserve, a 10% to 15% contingency for surprises
Project controls, bids, contracts, and punch Lists
Get at least three detailed bids with identical scope and specs. Ask for start dates, milestones, and who is on site each day. References should be recent and local, and insurance documents should arrive before any work.
Good remodels run on communication and clean paperwork. Set a weekly check-in and keep payments tied to progress, not the calendar.
End with a thorough walkthrough and a punch list that names the room, location, and fix, then collect warranties, care guides, and final photos for your records.

When To Phase, When To Pause
Some work belongs together to save time and money. Do electrical and plumbing rough-in before insulation, and finish sanding before final paint. If budgets tighten, pause after systems and shell fixes so the house is dry, safe, and efficient, and you regroup.
Think about life rhythms, too. Keep one bathroom and one quiet room online if you live through the remodel. Staging materials near the work zone shortens the timeline and reduces the risk of damage to finished spaces.
Remodeling rewards order and patience. Tackle the envelope and energy leaks, get kitchens and baths right, then layer in finishes that last.
With a clear sequence, tight documents, and steady communication, your project will feel calmer, cost less, and deliver comfort you can feel every day.

(0) comments
We welcome your comments
Log In
Post a comment as Guest
Keep it Clean. Please avoid obscene, vulgar, lewd, racist or sexually-oriented language.
PLEASE TURN OFF YOUR CAPS LOCK.
Don't Threaten. Threats of harming another person will not be tolerated.
Be Truthful. Don't knowingly lie about anyone or anything.
Be Nice. No racism, sexism or any sort of -ism that is degrading to another person.
Be Proactive. Use the 'Report' link on each comment to let us know of abusive posts.
Share with Us. We'd love to hear eyewitness accounts, the history behind an article.