

Outdoor pizza oven
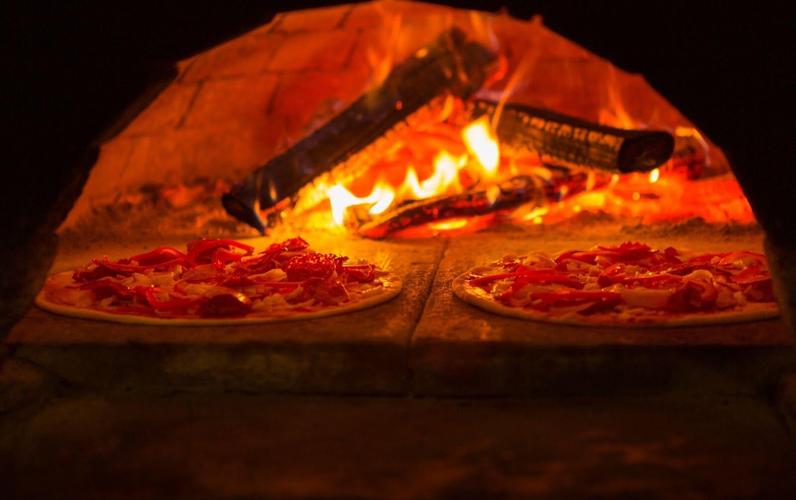
Delicious pizzas or breads whenever you want? There is nothing better than having a DIY pizza oven at home. Without any doubt, your family and friends would be totally blown away with the exceptional taste of homemade pizza that can hardly be faked.
Do you know that you can build a pizza oven in a rather simple way on your own? In this article, you will get to know how to build an outdoor oven and surprise your relatives during family gatherings with a taste of your own pizza as if it came from Italy. Check it out!
What Can You Prepare in a Wood-Fired Oven?
Probably the first thing that comes to your mind when you imagine an outdoor oven is a mouth-watering pizza, but that's not everything. In the outdoor oven you can prepare anything you wish, as the menu is remarkably rich. Apart from making pizza, you are free to cook, bake, as well as roast; you can use it as a typical bread oven, grill, and many more cooking devices. Here are some examples of meals that can be prepared in an outdoor wood-fired oven:
roasted vegetables
homemade bread
grilled or cooked meat and fish
jacket potatoes
stews
casseroles
desserts
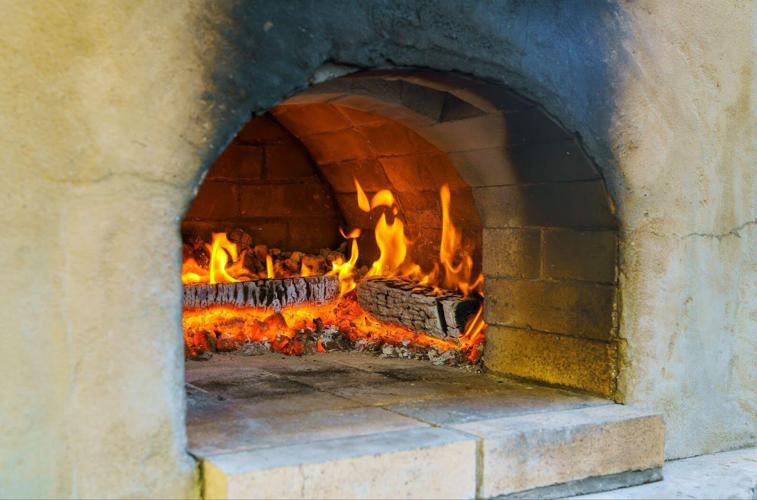
All you have to do to savor these delicacies is set the right temperature and then start the cooking process. It is so simple! As you know, the heat source in outdoor ovens is wood. If you are a proponent of bringing out different flavors and aromas, you are highly advised to experiment with various types of wood.
Garden pizza ovens are made of materials with high heat accumulation properties. Thanks to that, they can keep the heat for the next day. As a result, you can reheat the meal and enjoy the same amazing taste. Additionally, it is worth highlighting that high capacity allows you to make several pizzas at the same time. This makes it ideal for parties or larger group meetings.
Required Equipment for Building Wood Fired Ovens
You have to be aware that before building an outdoor oven it is of high importance to determine the place of building, the design, and the size of the desired oven. To begin with, you need to look at how much space you have for such an oven. Once the measurements have been taken, you will decide which type of oven will suit your garden perfectly. When it comes to all the materials for building, you will need:
bricks, breeze blocks, or wooden beams
cement
long wood screws and an electric drill
rubble and big stones
builder’s sand and clay
large bag of wood shavings
glass bottles
newspapers
solid gloves
plastic bucket
wheelbarrow
tape measure
Build Your Own Wood Fired Pizza Oven in Your Garden
Once you have all the necessary materials and tools, it's time you started the building process.
The First Step: Making of the Plinth
This is the most significant part because the plinth is the basis of the oven, so it has to be made solidly. The plinth frame can be built from bricks, breeze blocks, or wooden sleepers - it's totally up to what you will choose. At the beginning, you should clear the ground and dig a trench. If you have decided to use wood then you need to screw the pieces together to make a square box. The thing to be done next is putting a layer of rubble and stones in the middle, and then a layer of sand and glass bottles. Here they will function as a heat sink, warming up and radiating heat through the oven. At the end, put a layer of firm bricks to create the floor of the oven.
The Second Step: Construction of the Dome Mold
In this stage, you need to form a mound of damp sand around which you will shape the clay (120 kg of sand will be enough). Then put it in the canter of the plinth and build the dome, nearly as if you were in the sandpit. To make sure that the dome is round, you should check the dimensions from above. To prevent the dome from drying, you are advised to cover it with some newspapers.
The Third Step: First Layer of the Oven Floor
First, roll out a handful of the clay and sand mixture into sausage shapes and then put them in a circle around the sand dome (the dome should be totally covered). After that, you have to grind the pieces of clay together and smooth the outer surface using your hands. The clay needs to be left for 4 hours to dry.
The Fourth Step: Cutting Out the Opening
Now it's time to cut out the opening to the oven. On one hand, it has to be big enough to place the roasting tray, but on the other, the smaller, the better because it needs to keep the heat in. After cutting the opening, the sand has to be scooped out from inside. Then leave the dome for a night. To dry out the clay, light a small fire the next day.
The Fifth Step: Building the Brick Arch
In this part, you have to build an arch around the opening. By using bricks and more mix of sand and clay, you can create the angle for an arch. Now you need to rig the arch to the clay dome. What you should do next is cut a hole in the roof of the dome close to where the arch connects to the dome. Then build a clay collar to hold the chimney. The element which can act as a chimney may be a plant pot. Although, you should know that the chimney isn’t mandatory.
The Sixth Step: Insulating Layer
At this time, you have to prepare 4 liters of slip. This insulation layer will be put on the clay dome. Finally, let the dome dry and leave it for 2 hours.
The Seventh Sep: The Final Layer
In contrast with the first oven layer, this one is a bit larger. Now mix the sand with clay and create “bricks” in the shape of sausages to cover the insulation layer (remember to smooth the surface with your hands). The finished oven has to be left for one or two days to be completely dry. After this time, you can clean the residue of sand and debris. Now it's time to heat the oven and savor scrumptious dishes.

Warming up the oven door
Summary
To sum up, a wood-fired pizza oven will be a perfect solution not only for domestic, but also for commercial use. These ovens stand out due to the variety of meals that can be prepared. If you are not a fan of building a wood fired oven on your own, you can buy a new one at a really competitive price. However, these are easy to install and assemble. making them suitable for every common man. The ovens are available in different sizes, which you can decide upon, to suit the available space you have in your back garden. Make your backyard like the poshest restaurant, where the best specialties are served and the guest queue never ends. All this is possible with a wood fired brick pizza oven!
Here are Some Other Articles Related to Your Search:
How to Choose an Outdoor Pizza Oven
Getting Your Yard Ready to Dine Outdoors This Summer: What You Need


(0) comments
We welcome your comments
Log In
Post a comment as Guest
Keep it Clean. Please avoid obscene, vulgar, lewd, racist or sexually-oriented language.
PLEASE TURN OFF YOUR CAPS LOCK.
Don't Threaten. Threats of harming another person will not be tolerated.
Be Truthful. Don't knowingly lie about anyone or anything.
Be Nice. No racism, sexism or any sort of -ism that is degrading to another person.
Be Proactive. Use the 'Report' link on each comment to let us know of abusive posts.
Share with Us. We'd love to hear eyewitness accounts, the history behind an article.